After several months of running my Dell PowerEdge R420 server a few nuances arose that began to irk me. In an impulsive decision, I decided to replace the behemoth of a home server with a much smaller and almost unnoticable Intel NUC.
Prologue
The biggest culprit with the Dell Server was the noisy fans, even when set to the lowest setting. This meant that intensive operations would cause the fans to crank into overdrive and sound as if an airplane is about to take off from my kitchen. Because these are server-grade processors they don’t features such are multimedia acceleration, unlike their desktop counterparts, which again cause those delightful fans to spin up. Other joys these fans bring to the household is on system boot and are probably spinning at their maximum setting. It isn’t the most pleasant thing to hear when a blackout occurs in the middle of the night and triggers a reboot. My last critisism is that it’s very cumbersome. Tucked away behind a cabinet but I plan on removing said cabinet thus there will be no place for it to hide. The time came to take action.
Enter the Intel NUC.
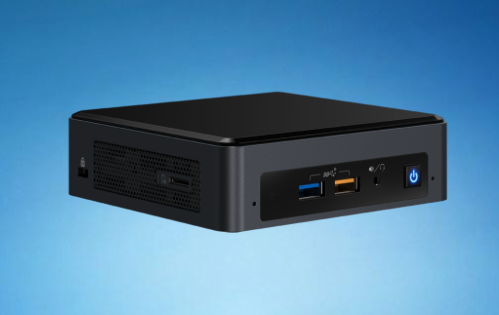
I’m not going to explain why you should or should not purchase an Intel NUC. Suffice to say, it was cheap and intrigueing and, more importantly, Home Assistant officially supports it!
Getting Started
I began by following the official installation guide but was met with a major hurdle, I had no way to writing to the M.2 SSD externally. The solution required an auxiliary step, to boot into a live OS and from there write the installation image directly onto the M.2 SSD. I flashed a Micro SD card with, and booted, the latest version of Ubuntu Linux. This gave me a nice and simple GUI to run their Disk Paritioning application to allow me to write the HA Disk Image onto the drive. I used a secondary USB stick with the installation image but could have connected to the Internet and downloaded it again. After the image was installed/written I simply rebooted into the OS.
This worked out rather well and, despite the slight difficulty writing the image to the drive, the rest of the setup was simple. I opted to start a new instance of Home Assistant rather than migrate the existing. It would give me a chance to re-assess all my devices and layout. As I began this process there was one part that I began to struggle with - NFS volumes.
Getting Started, Again
With the Dell Server, I had some media folders mounted from my NAS, which were used by several application. This I wanted to continue to use, along with the same applications and keep my NAS setup intact. I began exploring all means to mount NFS volumes inside the HA OS. My search lead me down multiple avenues, from using Docker Images of the NFS client tools to compiling a modified HA OS with the NFS flags enabled. As the OS was compiling on an old 2014 Macbook Pro, I began to question how I’d install it. A little digging into the OS and the OTA update system can’t be used because my compiled OS won’t be signed by the certificate used to verify authenticity. After half of a day spent of trying to get NFS running I realise this was counter to my goal of having a low-maintainence system. I decided to backtrack this whole approach to something that isn’t as complicated, even simple.
This was when I went back to the official guide for inspiration, opting to follow the Supervised installation method again. This wasn’t new territory for me, as you may remember. The difference this time round is I opted for the officially supported route of using Debian as the OS. Granted, I’m much more familiar with it’s better known cousin Ubuntu, but have used it on many servers over the years.
Installation
This time things were much simpler. I did not have to install by proxy of another OS, just via the Live installer. One important step that forced me to re-run the installer was due to the fact that Debian doesn’t include any proprietary firmware in the installation media. This means if you’re using devices that require such firmware, such as the onboard WiFi in the Intel NUC, you’ll need to sideload the package onto another USB stick etc to get networking up and running to download packages etc during installation.
After installation was complete I setup WiFi via the WPA Supplicant
configuration.
Once I established Internet access my next step was to install Network
Manager, which is one of the
requirements for the Supervised installation. At first, Network Manager did not
allow or was aware of my WiFi device. Once I undid the WPA Supplicant
configuration was it that Network Manager was able to detect and allow me to
configure WiFi. I used the nctui command for all these operations without
issue. I tend to find Network Manager configuration files tedious.
The final piece prior to installing the HA Supervisor et al was to install Docker. There’s nothing special, I just followed the official installation guide. And with that it was time to run the final step to getting HA installed and running.
These last few steps were very verbatim from my first guide, with the
additional step of installing and mounting my NFS volumes. This was just copied
across from my Dell Server’s /etc/fstab onto the NUC’s. I also transferred
the addons folder which allowed for a simple transition for my addons. Then all
that’s left is the tedious process of toying around with the setup until I’m
satisfied, which is never :)